Review: NARS Pure Radiant Tinted Moisturizer

Hello! Hope you are enjoying your weekend!

I’ve been sitting on this review for so long, and I’m glad to be finally doing it! I bought this product back in the winter, and it has been my go-to foundation since.

Overview:

I like it, but I wouldn’t say holy grail status.

Price:

$49 CAD at Sephora (wow just realized how expensive this was!!)

Rating:

7 / 10

Would I Buy Again?

Yes, I would buy it again, but not before trying other products.

Rambling Review

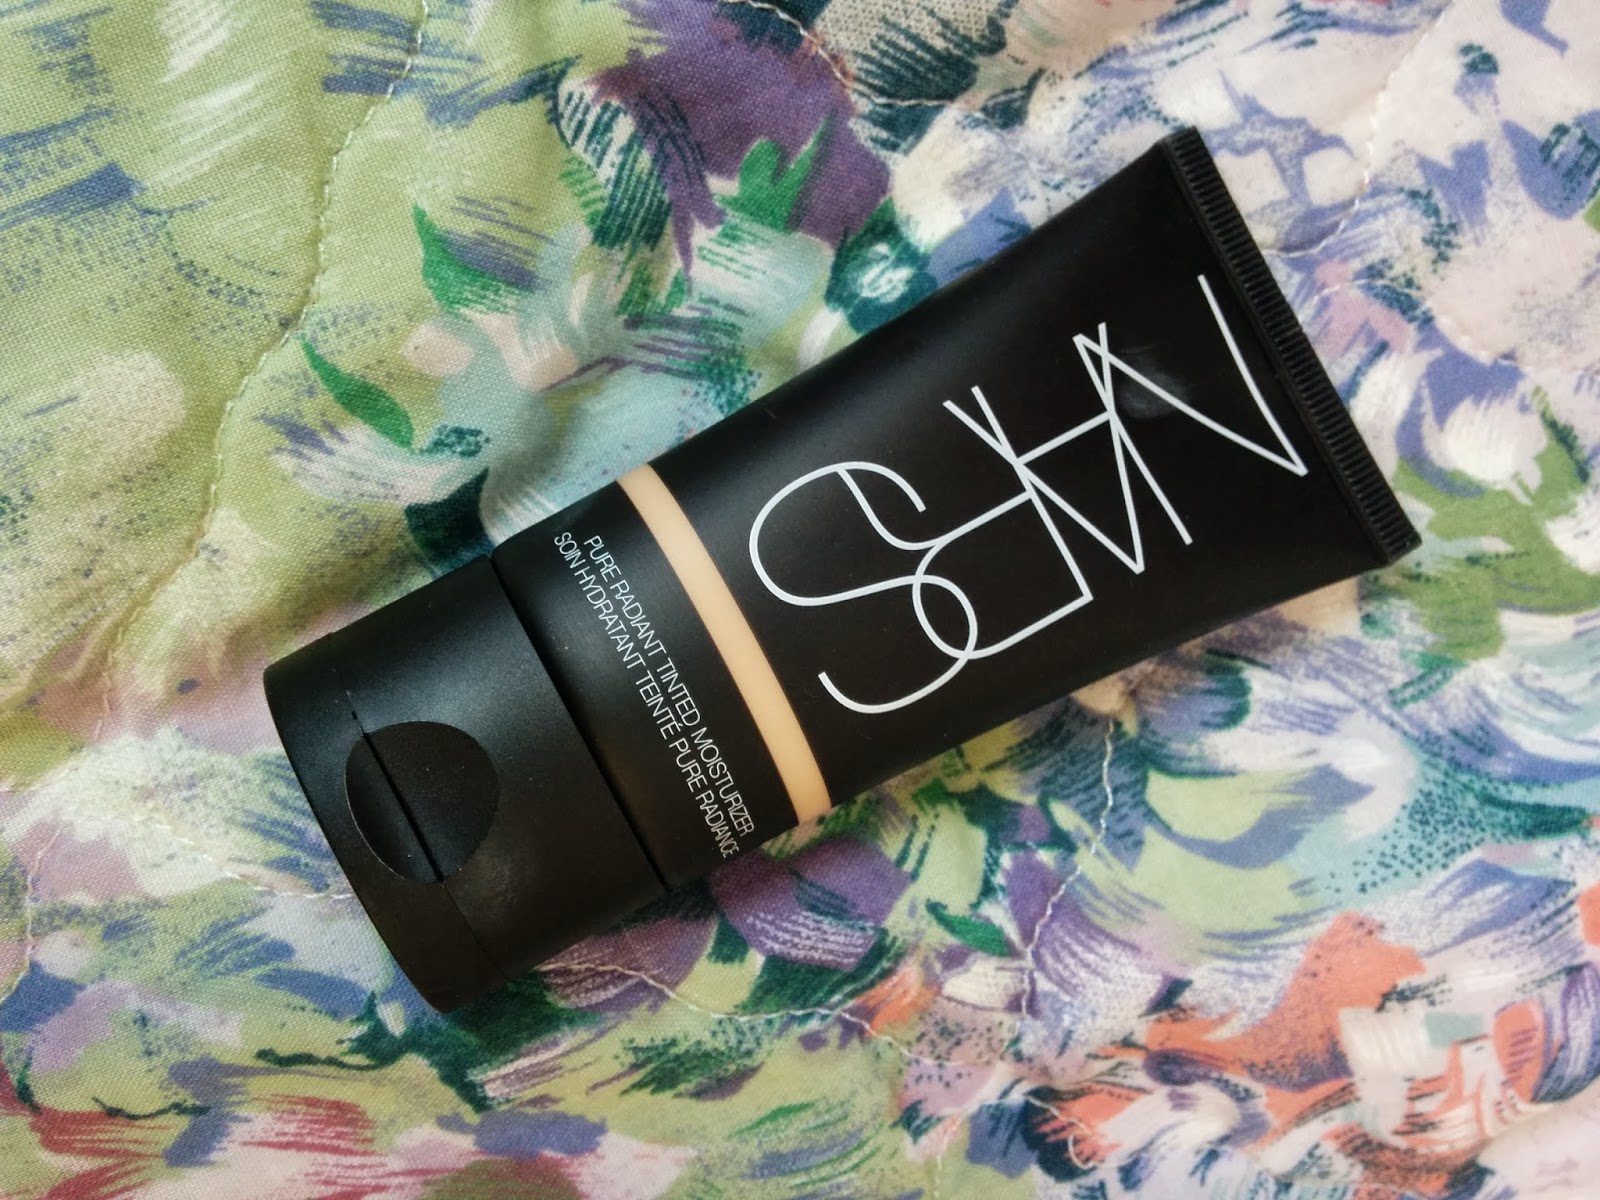
I was looking into tinted moisturizers for awhile, and I remember I was looking at this one and the Laura Mercier one. When I went into Sephora I asked the associate for help and she recommended the NARS one just because of the buildable coverage. So meh, what the heck, I bought it.

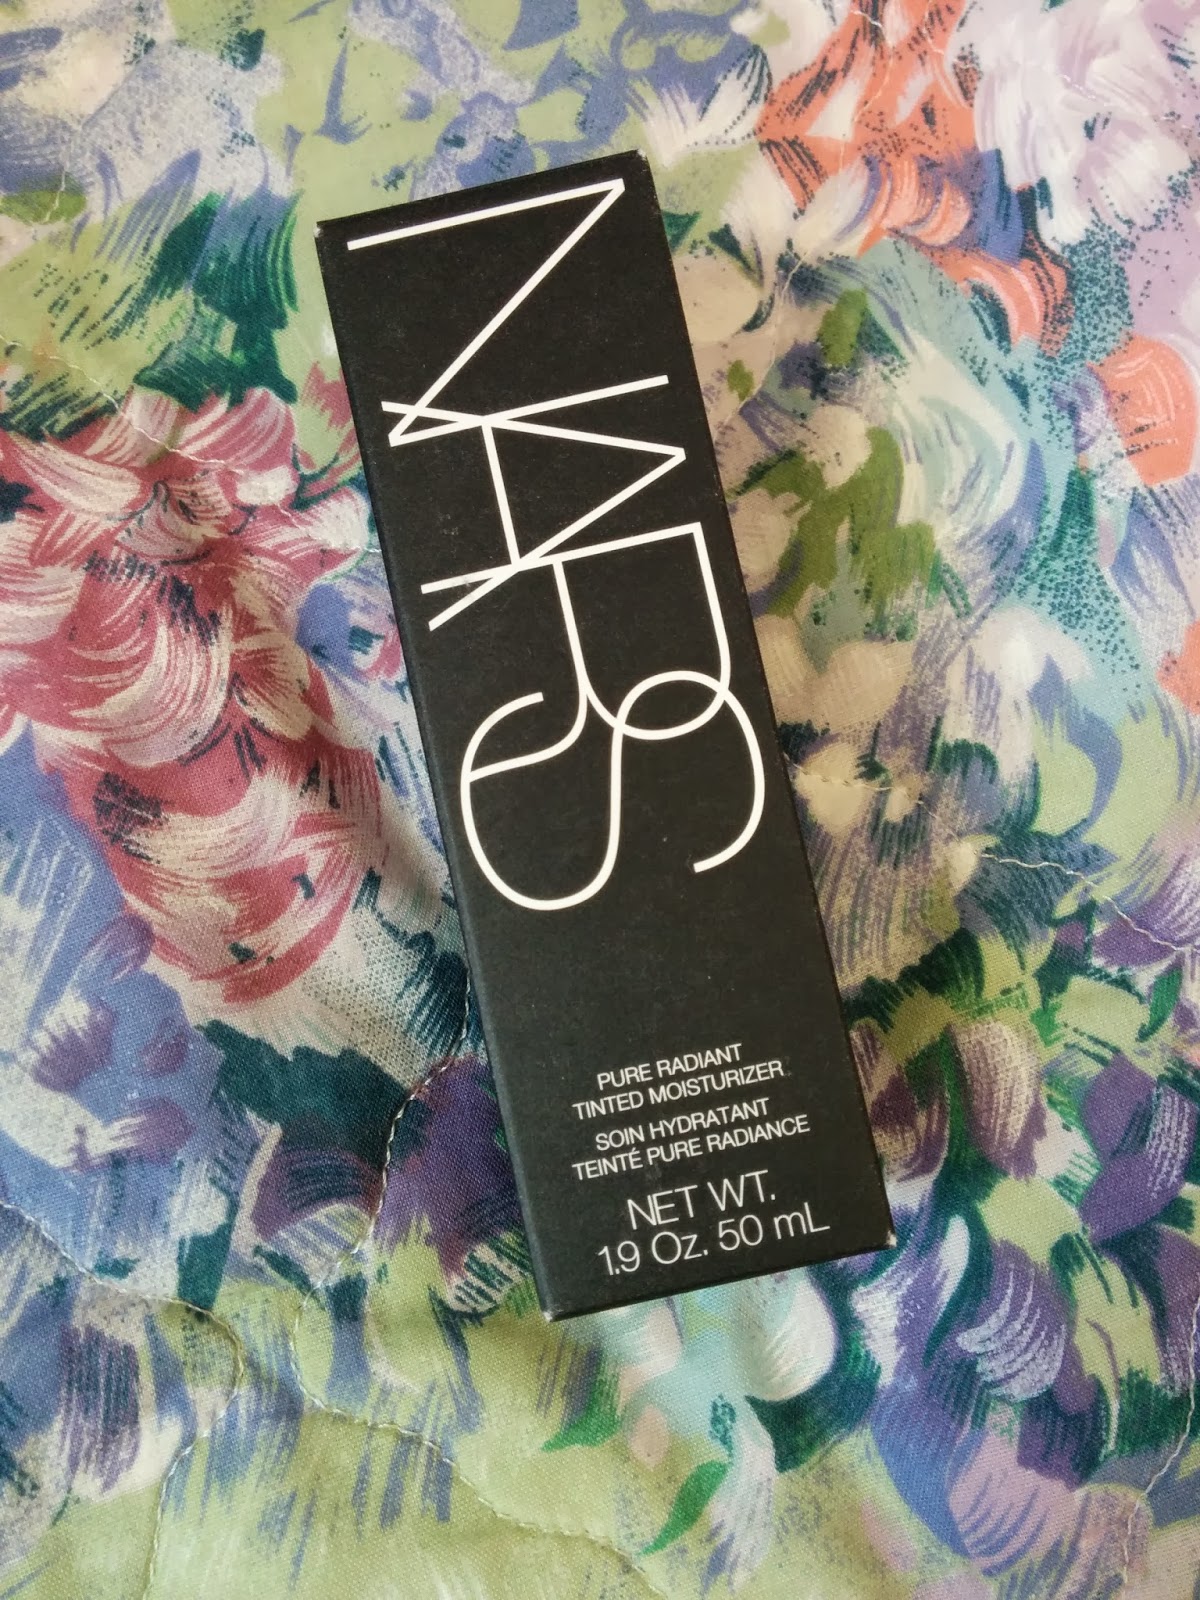
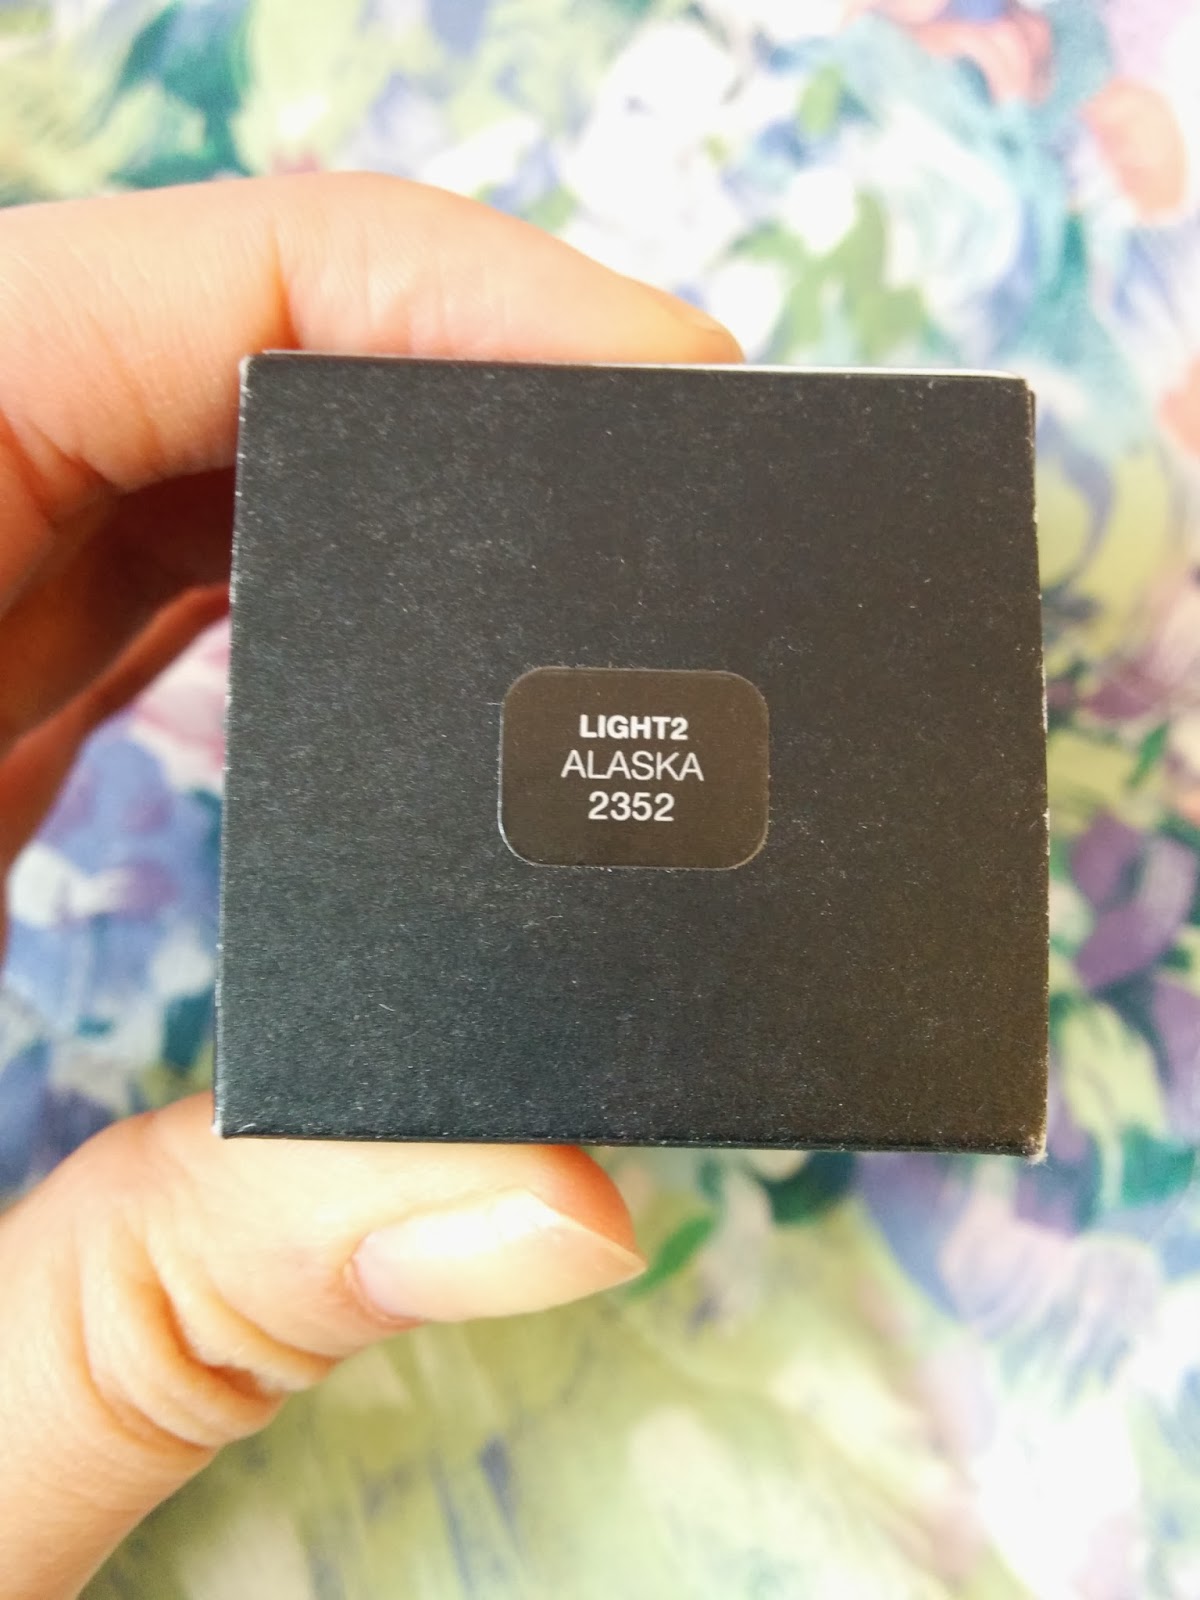
I was surprised that the associate offered me the second lightest colour. She said that it definitely deepens after wearing, so what the heck. The colour I got was Alaska (Light 2).

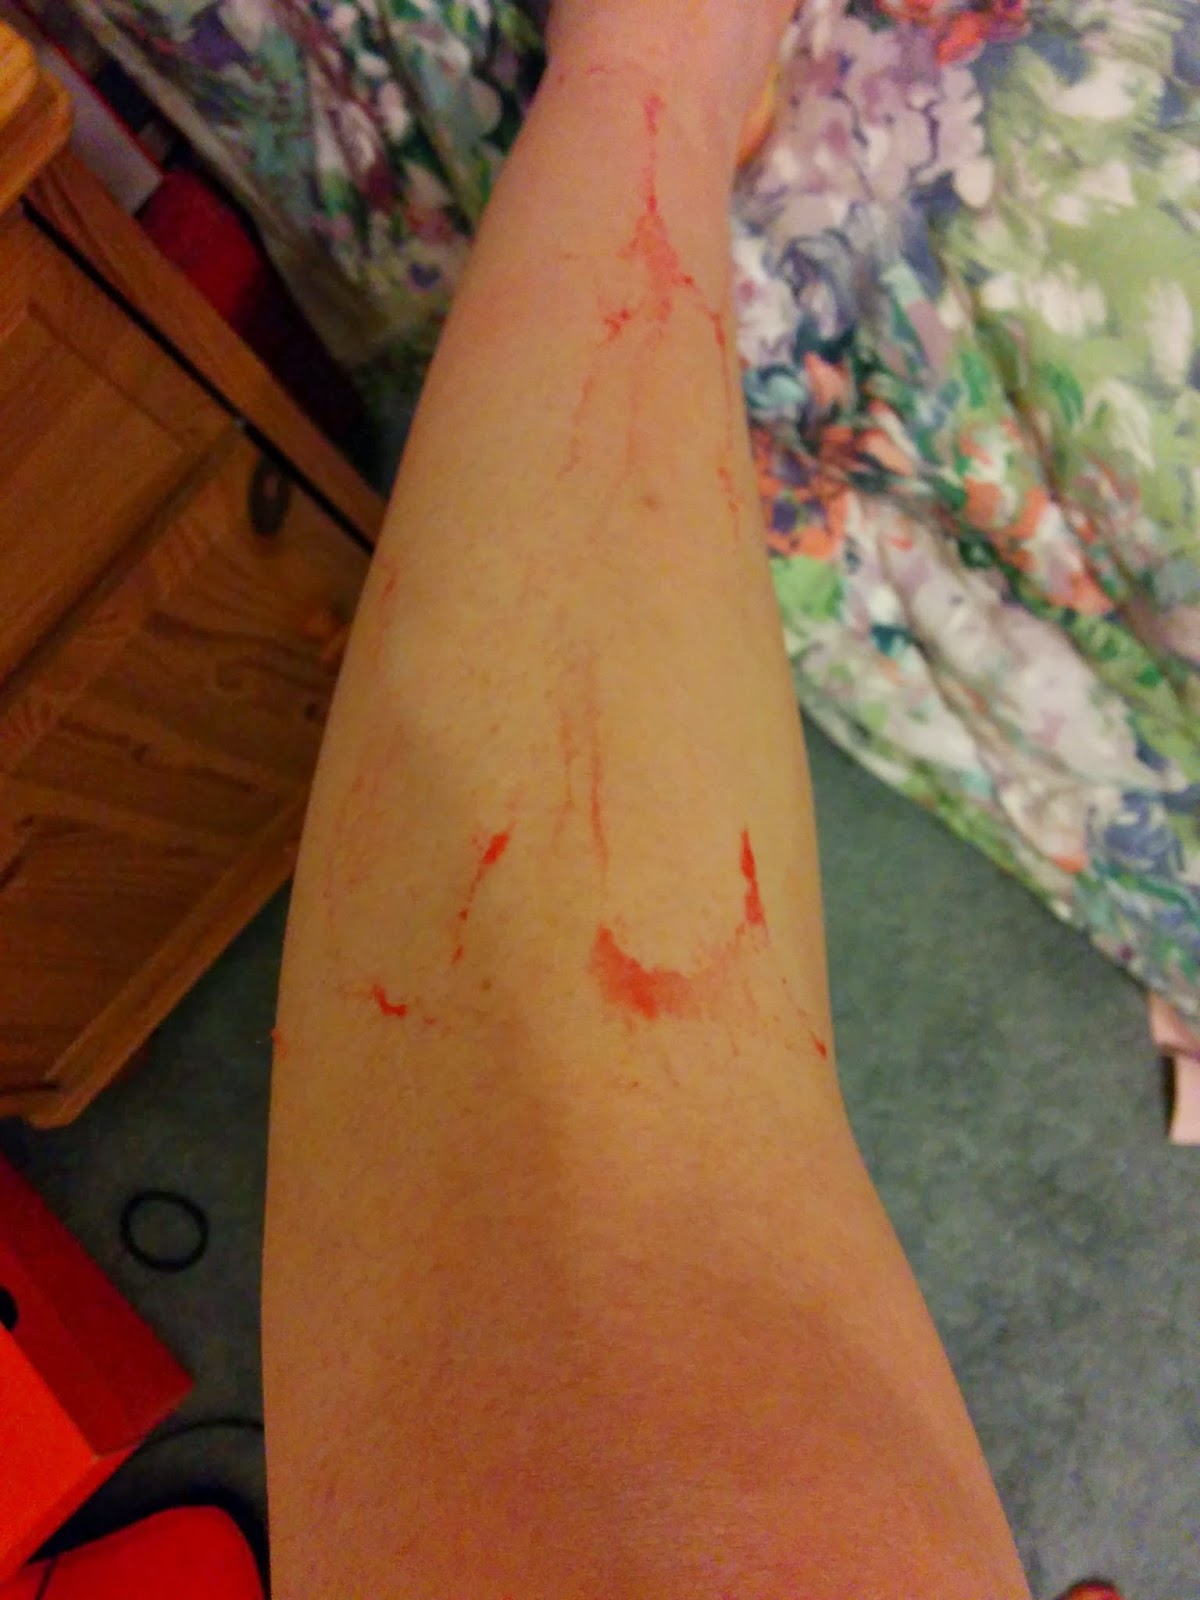
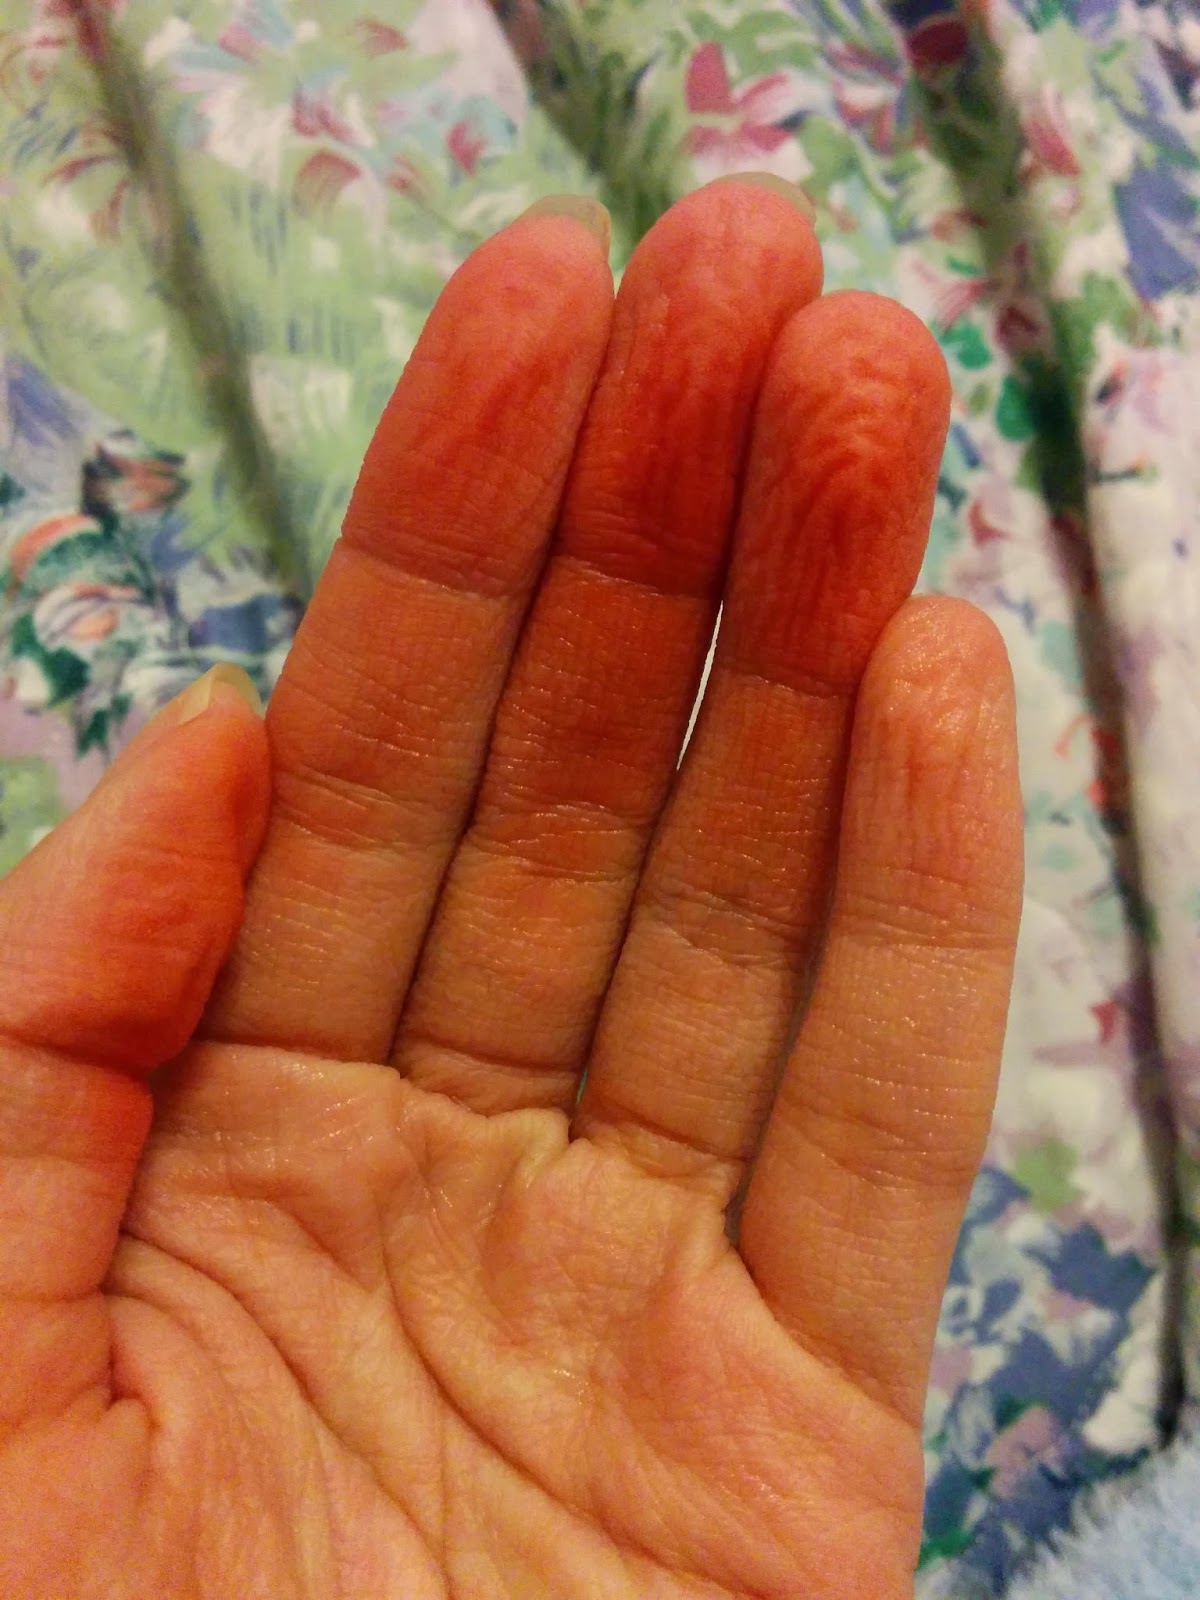
After wearing it, I understand why she chose this shade for me!! I noticed it definitely oxidizes. The one thing I don’t really like about this foundation is that it turns out a bit orangey. It has very yellow undertones.

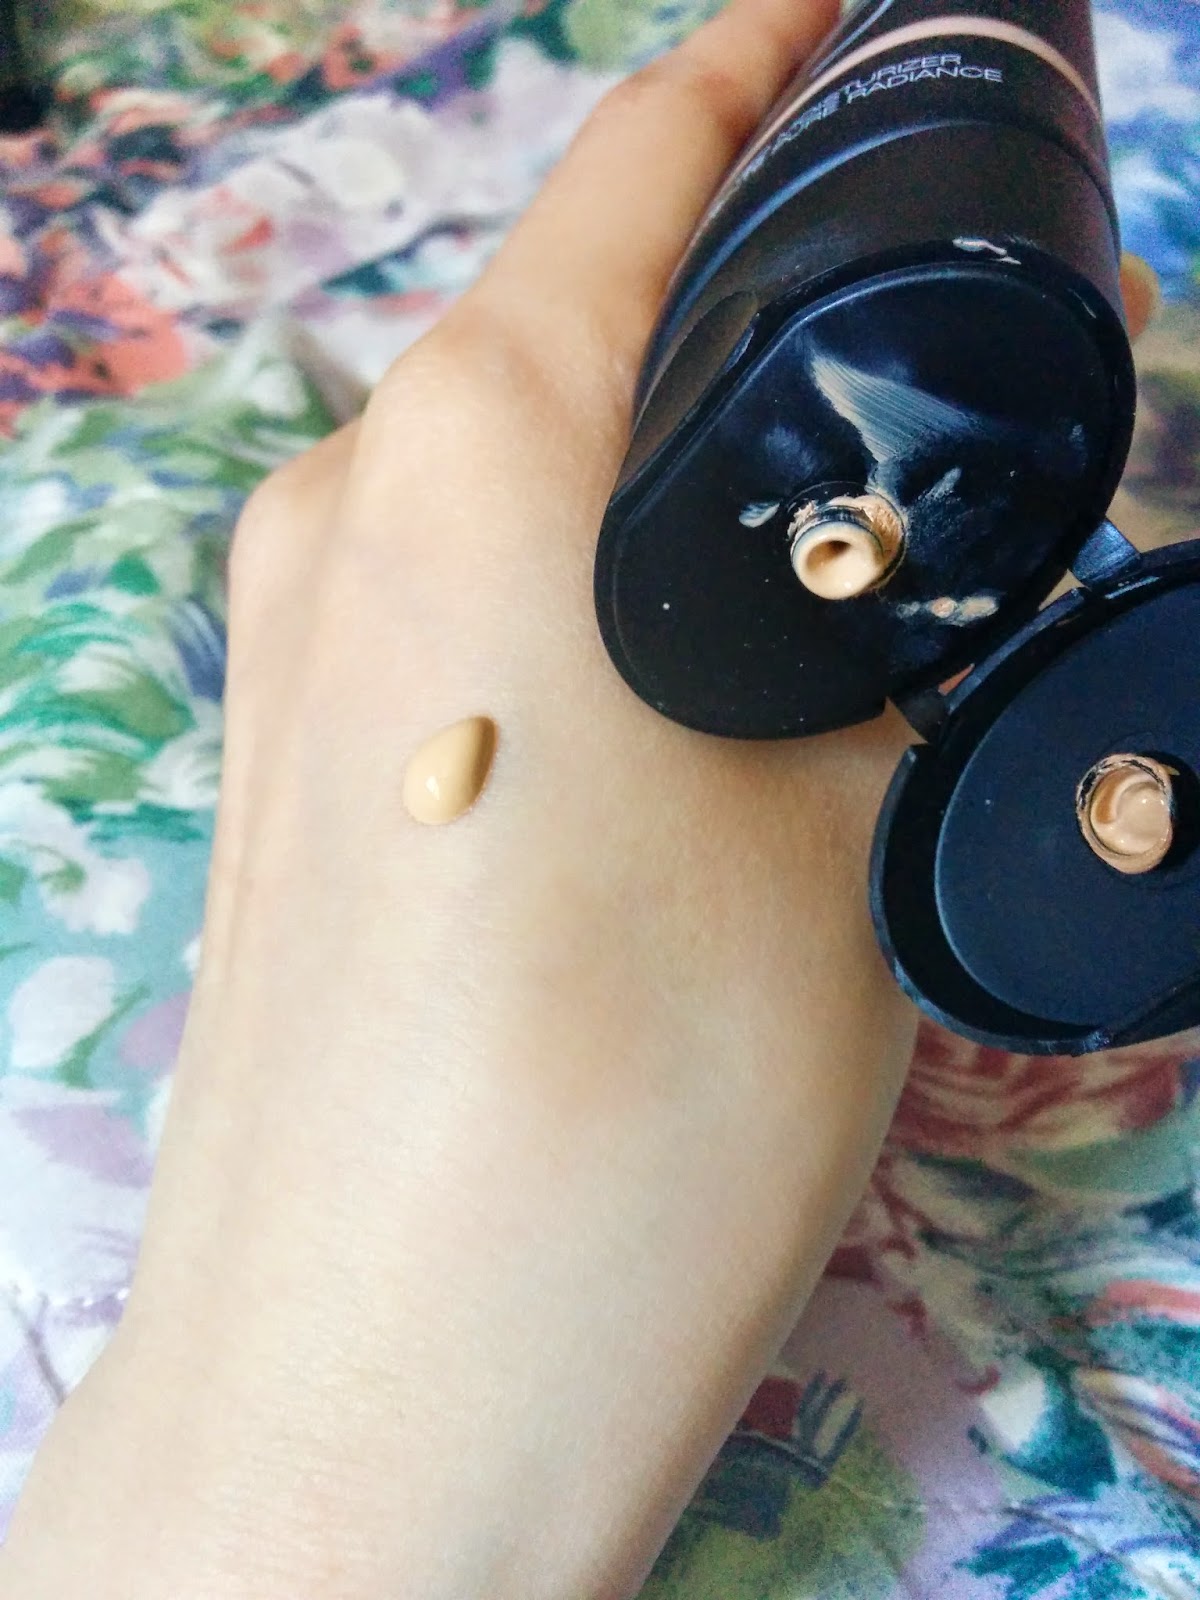
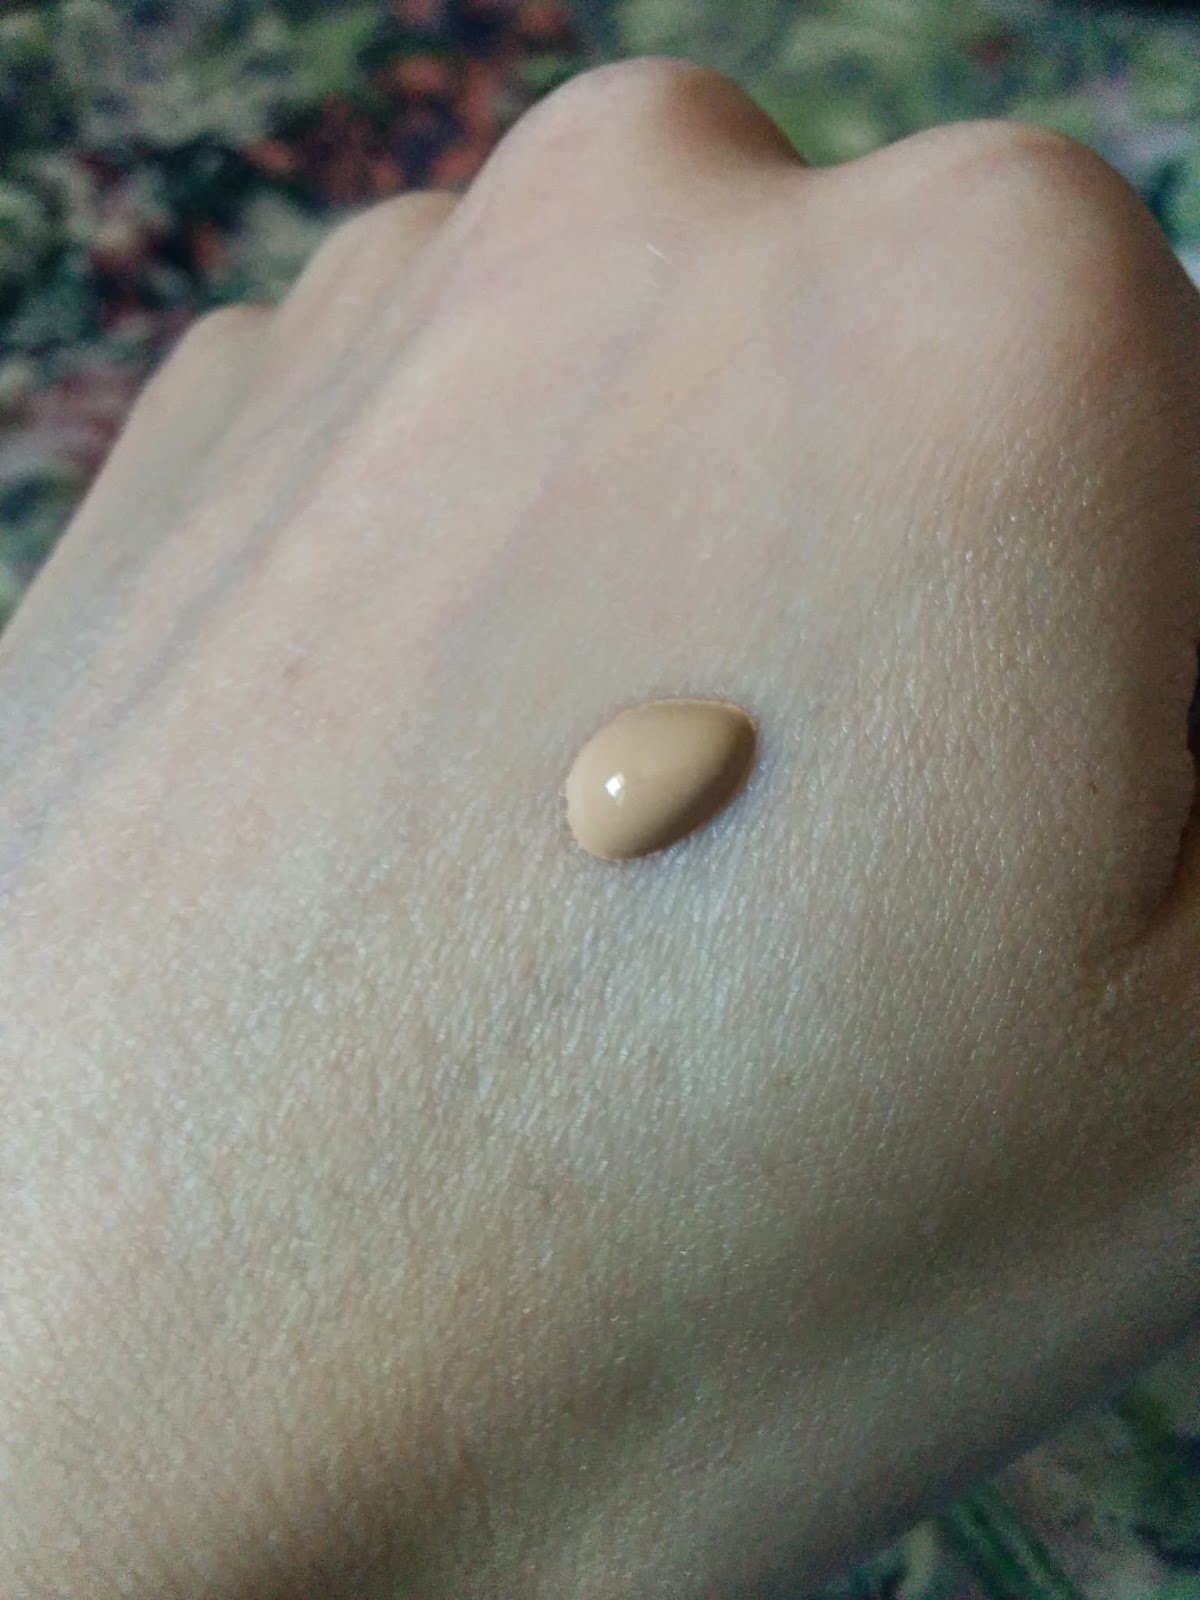
My pictures aren’t the best, but they show different lighting I guess?

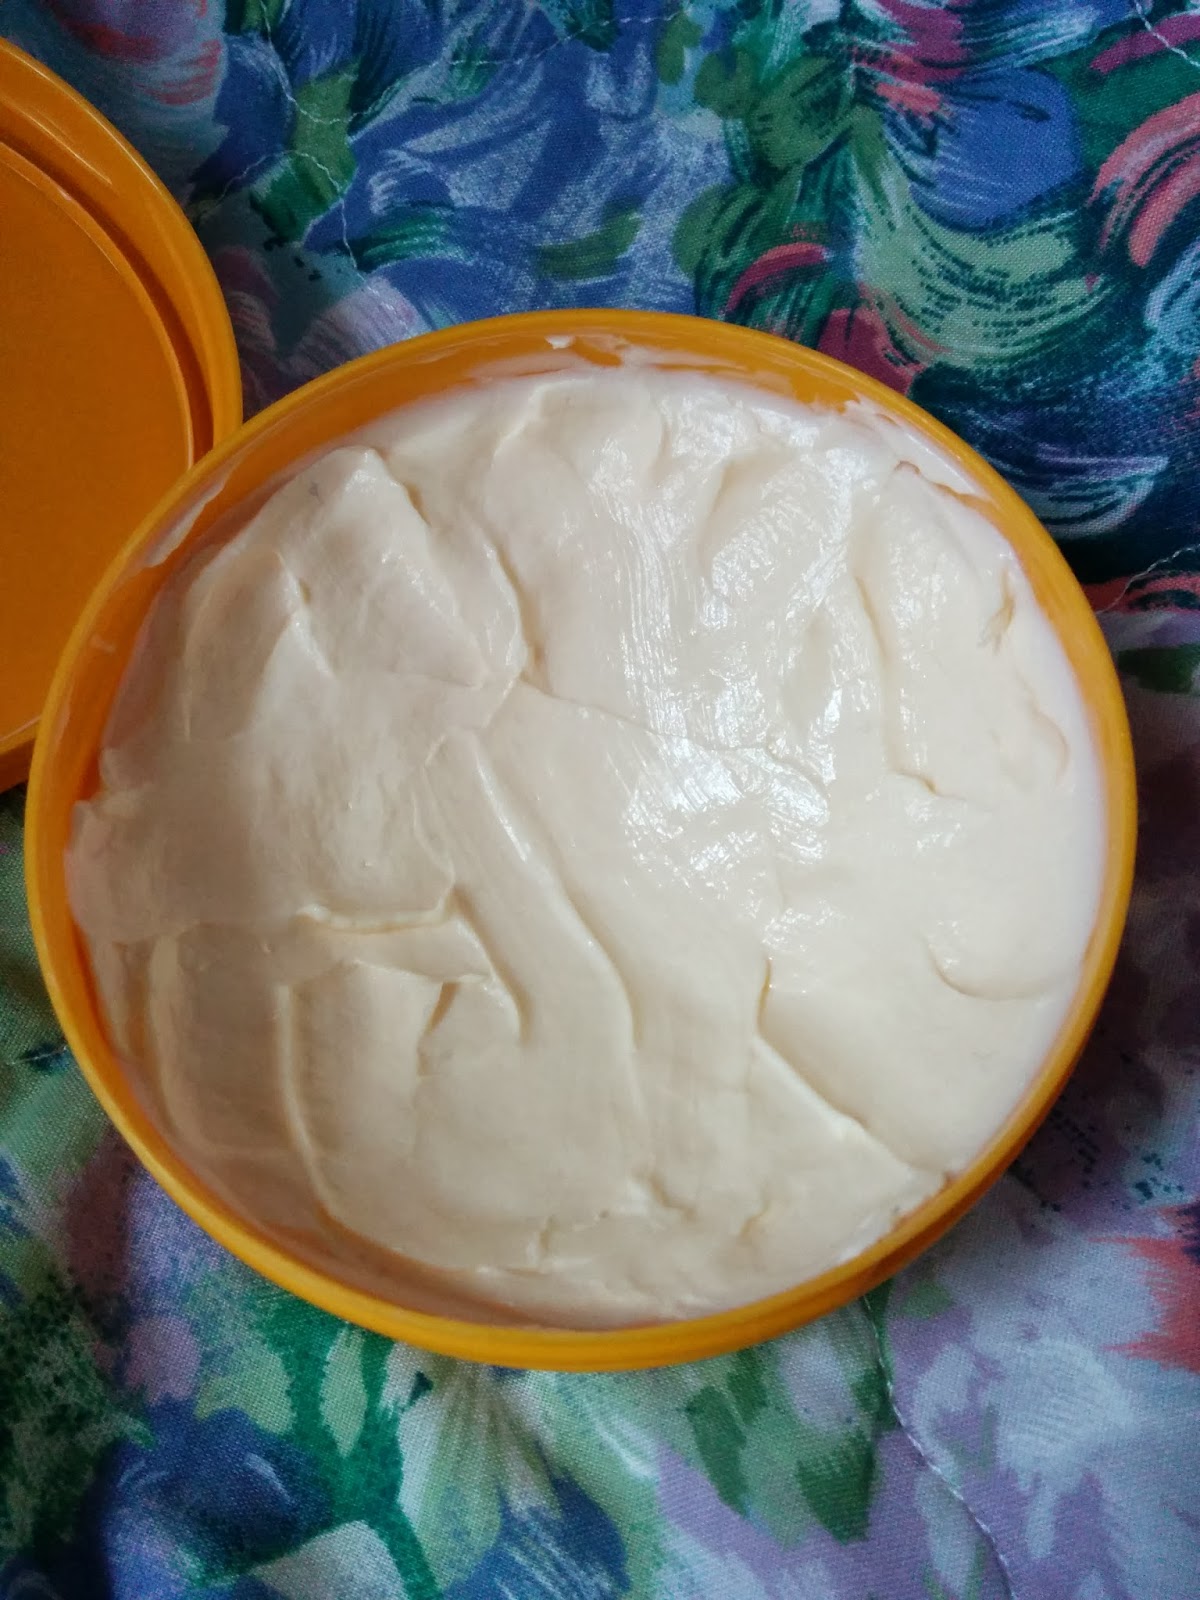
The formulation is much more liquidy than I was expecting. I noticed that the best way to apply this was a patting motion with my fingers. Even my best brushes ended up making it look a little streaky. This is also a foundation that should be set with powder after application. Since it’s so light and liquidy, the power adds a little structure to it.

One thing I want to note is the smell! I didn’t expect it to be so pleasant! It has a lemony smell which sounds really odd, but most foundations I’ve smelled have been kinda toxicy or no scent. So this was definitely interesting.

I’m not sure if I would re-purchase this right away due to the price and orangey-ness, but I would say it’s a solid foundation (if the colours work for you).

Thanks for reading! Hope you have a great day!

Follow on Bloglovin

Continue Reading

Review: Benefit They’re Real Push-Up Liner

I’ve been so anxious to put up this review! Here it is coming attcha.

Unless you’ve been living under a rock (with no internet access), you’ve probably heard about the much much MUCH hyped new gel eyeliner from Benefit. Thanks to Janine from beautygeeks and Benefit Cosmetics I got to try out this liner before it hit stores last week. You can check out Janine’s review plus others who were lucky enough to get chosen for this campaign here.

Overview:

I think I might have found my new go-to eyeliner. 😀

Price:

This was kindly provided by Janine from beautygeeks and Benefit Cosmetics.

It can be found at Sephora, Shoppers Drug Mart/ Murale for $29 CAD

Rating:

9 / 10

Would I Buy Again?

Yes I would buy this liner again.

Rambling Review

Eyeliner is one of my favourite makeup items. I feel my eyes look so dead without it, so it’s usually my go-to. When I got picked for this campaign I was beyond excited. I wouldn’t say I’m usually on the forefront of the new makeup horizon, so I was excited to try something that I’ve heard so much about (plus my Stila stay all day liquid eyeliner was running out).

The eyeliner comes with a little orange nub thing I guess to keep the eyeliner from drying out.

As you can see from the picture, the tip is the most revolutionary part of this eyeliner. Usually when applying gel eyeliner you need an angled brush but not with this one. You click up the bottom of the pen and the gel is pushed up the tip. When I first opened this I got scared that I got a dud cause it probably took me 50 clicks to start getting product out. The relief I felt once I got the product flowing….dear jebus.

Along with the actual product, they provide you with a tip sheet to achieving the perfect liner. One of the tips they provide is to do a stamping motion on your lashline to keep the line steady. I found the issue with this trick is that it never really ‘stamped’ the product out. Since ain’t nobody got time for that, I just ended up applying this I would usually with short dragging motions.

And here is my result!

It gives such a nice matte black line which I love. It’s funny, I find that this liner looks better and better throughout the day. The lines soften (but don’t smudge) which creates a really smooth intense eyeliner look.

I also tried doing a little baby wing which will need more practice. :p

When taking this off, I would say use a strong waterproof makeup remover. I found that I needed to use two cotton pads instead of my usual one when removing.

All in all, I’m really impressed by this liner. I would say to do the dramatic super duper amazing wings take practice, but that’s just liner in general. If you like the look and feel of gel eyeliner, I would definitely recommend trying this out!

Thanks for reading! Hope you have a great day!

Follow on Bloglovin

Continue Reading

#NailsOfTheDay: Merry Mint + Nail Polish Removal

Coming at you with another Nails of the Day!

This one is super simple, but I can’t get over how much I love the colour.

This is a Joe Fresh polish in Mint. I got this colour a long long time ago and have no idea if they still make this one. Joe Fresh polish is okay. I wouldn’t say they are as good as other higher end brands, but for the price of Joe Fresh, I would say they are worth a try.

On another note, I thought I would blog about how I’ve been removing my nail polish lately. In either a Boxing Day or a Black Friday Sephora kit, I got these Josie Maran Nail Wipes

I have been loving these at the moment! At first when I used them I found them a bit greasy. They are cotton pads soaked in an oil. After using them, I loved how effective and convenient they are. They have a pleasant scent and I find removing nail polish so easy. Depending on the what I have on my nails (sparkles or not), I can sometimes get away with using one pad for one hand. Not too shabby considering I always use a million cotton balls when using regular nail polish remover.

They sell this at Sephora so if you wanna try a new way to remove your nail polish, I recommend that you give this a try!

Thanks for reading, hope you have a great day! 

Follow on Bloglovin

Continue Reading

Review: Nair Candy Apple Sugar Wax

Hello there!

Here with a review!

First off, I just wanted to say thank you to ChickAdvisor, as they sent this to me to review as part of their Product Review Club. (And a double thanks for extending the deadline for me. Hair removal is the last thing you’re thinking about when you’re in bed with the flu).

If you’d like to learn more about the Product Review Club (I highly recommend it), check out ChickAdvisor here.

On with the review.

Overview:

Time consuming but very effective way to remove hair.

Price:

This was given to be by the ChickAdvisor Product Review Club, I’m not too sure what the retail price is.

Rating:

6.5 / 10

Would I Buy Again?

I’m on the fence about it. I’m going to keep on trying it out until I perfect my technique! 🙂

Rambling Review

This is the first time I have tried using hot wax in spatula and tub form. I purchased a Veet electric hot wax product which wasn’t all that great, so I wasn’t sure what to expect from this one. Just a bit of background, I usually shave my legs but wax my underarms using cold wax strips.

The kit comes with a little tongue depressor stick, re-usable fabric sheets, instructions, and the tub of wax. Something I really liked was that the sheets are re-usable, you just need a bit of water to remove the wax from them.

The wax was super easy to heat up, you just pop it in the microwave for 30 seconds. It warmed up evenly and at the perfect temperature. The smell is quite pleasant (candy apple, yum) and the consistency was great. Now I was ready to go. I started with my legs and then I moved onto my underarms.

The first thing I noticed was it was a little awkward to get the right amount of wax on my legs. When I ripped off the sheets, there was still a bit of wax left over.

My fingers were getting sticky and making sure I didn’t mess up the wax everywhere on my carpet (bad idea doing it in my carpeted room probably…) was a bit of a challenge.

What I noticed though was that my legs and underarms ended up really really smooth. I’m very happy with the results and I can guess that this would last longer than shaving (they claim it lasts up to 4 weeks).

After finishing, I was sorta sticky all over. I was not planning to take a shower, so I had to run a towel under water to remove the wax. The good thing was it was very easy to remove. Other cold wax products I have dealt with have been a hassle to get the excess wax off. One thing I did notice is that it turned my fingers red after washing the fabric strips off!

It’s not super stained, but definitely noticeable.

My tips for using hot wax:

  • Make sure you have ample time on your hands. I would consider this a much lengthier process than shaving
  • Do this right before you are planning to take a shower. Clean up will be so much easier. (They recommend you don’t use this within an hour of taking a shower because your skin may be still a little wet, making the wax less effective)
  • Maybe wear gloves so your hands don’t get stained like mine
  • Use the wooden stick to put on a thin layer of wax. I think I sabotaged myself by using big globs when I could have done enough with just a thin layer.

All in all, I’m excited to try this again. I think with practice and timing, this could be a very good alternative to shaving.

Thanks for reading!

Follow on Bloglovin

Continue Reading

Review: Honeymania Body Butter

Last summer I went to a shopping event that not only had great discounts, but also gave out a goodie bag. There were TONS of beauty products in the bag, and I’m only starting to just dig into some things.

One thing that I’ve been starting to use after my showers is the Body Shop’s Honeymania Body Butter.


Overview:

For winter skin care, I don’t think there is anything nicer. The scent is a little strong though.

Price:

I personally got this in a gift bag, but I believe they retail for around $20 CAD?

Rating:

8 / 10

Would I Buy Again?

Yes! I’m thinking of trying new scents as well.

Rambling Review

To tell you the truth, I’ve never been a huge fan of The Body Shop. I think it’s nice that they try to support a lot of charities and source their products responsibly, but I wasn’t a fan of their prices. Everything was always a little more than I was willing to pay for body products. This notion was solidified after Bath and Body Works came to Canada and I could get nice smelly things for a better price.

This being said, I was willing to give this product a chance. I started using this product after I stepped out of the shower and definitely felt a noticeable difference. At first, the scent was surprising. I expected it to smell sweet like honey, but it had a floral scent. I personally don’t mind the scent because I use it at night. But I would say if you regularly wear perfume, then it might be a bit combative to that.

Whenever I woke up after using the product my body would feel noticeably smoother. I think this product would be great especially after you shave your legs.

I know the mango scent is really popular too, so I’m hoping to try that one next!

Thanks for reading!


Continue Reading

Review: Sephora Formula X ASAP Nail Appliqués

On Black Friday, I was able to pick up some things from Sephora (which can be seen here). One thing that I got was the Sephora Formula X ASAP Nail Appliqués, and I’m so glad that I did! Currently I am wearing the sweater/fair isle looking print.

Overview:

The price seems a bit expensive, but I wouldn’t hesitate to purchase these again!

Price:

A pack of two different nail design sheets cost $12 CAD on Black Friday.

Rating:

9 / 10

Would I Buy Again?

Yes, 100%

Rambling Review

From my most recent experience with nail wraps/stickers/appliqués (which can be read here), I was hesitant to purchase these. The pack of two sheets (candy cane design and fair isle design) were available as a limited edition for the Sephora Black Friday sale. I decided to pick them up just cause I loved the designs.

My nail wrap carnage. 🙂

I honestly can’t say enough good things about these nail wraps. They are real nail polish, so they have a bit of nail polish-y smell, but nothing too overpowering. They were also really easy to apply. They didn’t come with a nail file, but I think it can be assumed that most people have an emery board or two somewhere in the house. The nail file I used was actually the one that came with my Revlon by Marchesa.

Something that I really loved was that the sizing of the wraps were more exact compared to others that I’ve used. I have a pretty small pinky finger, so I was surprised that this pack had a perfect fit for it.

The wraps were super easy to file down, and I think they turned out perfectly. The reason I didn’t give it a 10/10 was the price ($6 is a bit much for one application compared to a bottle of nail polish for $8-$10). If I were to buy nail wraps again, I wouldn’t hesitate to purchase these because I had such a good experience with them.

I hope for Boxing Day, Sephora has a similar sale on these nail wraps! If so, I will be definitely be getting more. 🙂

Thanks for reading!

Continue Reading

Review: Revlon by Marchesa 3D Jewel Appliqués

Overview:

They look absolutely stunning, but I found my nails didn’t file down well after applying which lead to my nails being extremely sharp and ‘scratchy’ due to the gold decals.

Price:

I believe they are around $10 CAN. I received my pair for free (see below).


Rating:

7 / 10

Would I Buy Again?

Maybe, only for a special occasion.

Rambling Review

Recently I got sent a free set of nail stickers (oh excuse me, appliqués) from Revlon because apparently I am apart of the Revlon Selects. I remember during the summer I filled out a survey to attempt to join the Revlon Selects which is a sampling club full of makeup freebies. I don’t know if it was ongoing or if people just got one box, but it looked quite nice! I assumed I wasn’t chosen though, cause I was seeing a lot of blog posts about the nice makeup stash that some people got! You could probably just Google Revlon Selects and see some of the stuff that others received.

Randomly, I received an email mentioned since I was part of the Revlon Selects (*cough* fake it ’till you make it), I would be receiving a free set of the Revlon by Marchesa appliqués. Well I’m definitely not complaining!

They arrived a couple of weeks later, and boy was I impressed. They look absolutely stunning. The colour I got was 24K Brocade.


Image from the Revlon website

Application wise, they were okay. I’ve only used 2 different brands of  nail stickers (Sally Hansen, and an indie brand SCRATCH) so I don’t have much to compare to. They are thick, which I like because it makes it easier to remove from the paper. They were easy to place on the nail and stayed put when placed.

I noticed though that when I filed off the excess sticker, because it was not 2D I ran into some troubles. The gold detailing is actually a sticker on the base colour. It creates a nice look, but I had a really tough time filing it down to make the tips smooth. I’m not sure if I was just doing it wrong, but my nails ended up being talons.

After a few days of wear, the tips weren’t as sharp, but this is definitely something that irritated me. As gorgeous as they look, I think I would only purchase these again for a special occasion.

Thanks for reading!

Continue Reading